In this tutorial we will be building a blog using Hugo and deploying it to Netlify.
Install Hugo
Head over to the Hugo installation docs to install Hugo. If you are using a Mac, the best way to install it is by using Homebrew.
brew install hugo
If you are using a Windows machine, the best way to install it is by using Chocolatey.
choco install hugo -confirm
Verify that you have installed Hugo before moving on.
hugo version
Create Blog
Go to the directory where you want your project to live and run the following command to create a new Hugo site:
hugo new site my_site
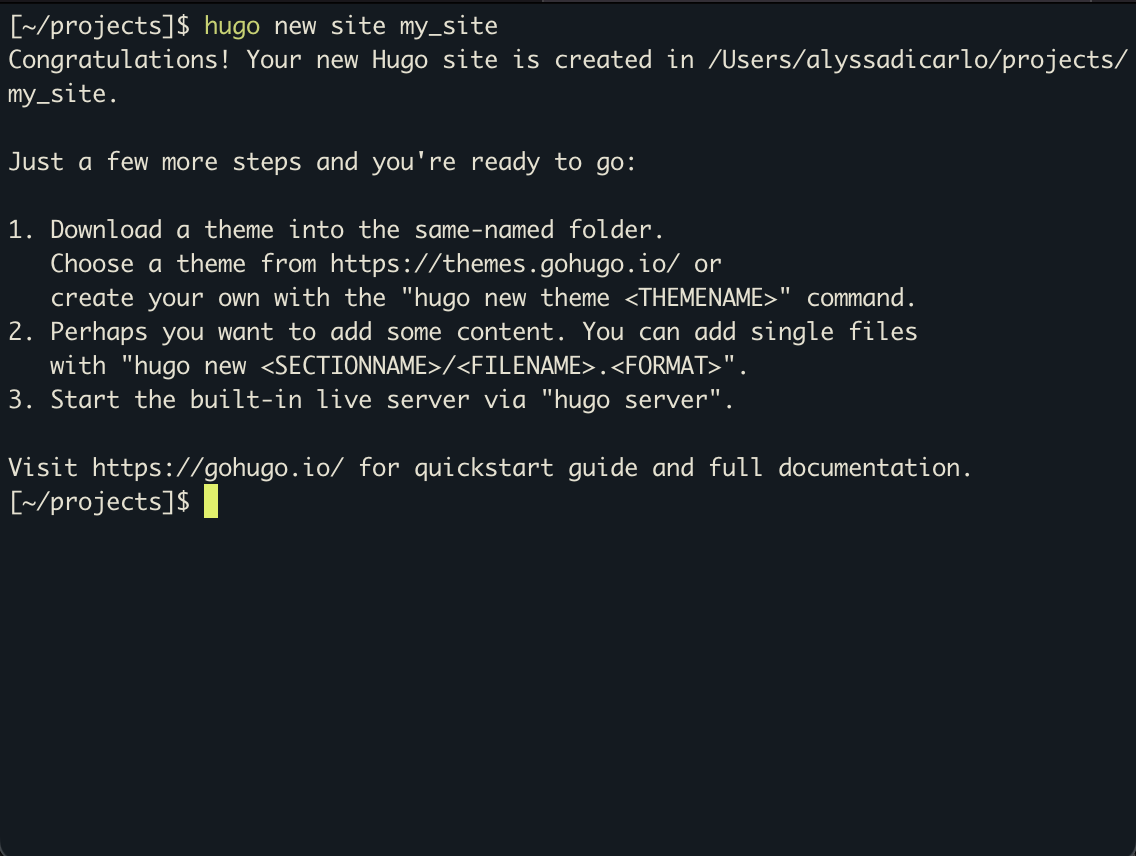
my_site should be the name of the site that you choose. For this example I chose a simple name, but you can name it whatever you want.
Next, we will add a theme. In this tutorial, we will use the Papermod theme, but you can head over to themes.gohugo.io to choose your own.
If you do not have git installed on your computer, please install it as you will need it for this tutorial. Download git here.
cd my_site # your project folder
git init # initialize git repository in project folder
git clone https://github.com/adityatelange/hugo-PaperMod.git themes/hugo-PaperMod
echo theme = \"hugo-PaperMod\" >> config.toml # add theme to site configuration file
Your site file structure should look like this:
.(project root directory)
├── archetypes
│   └── default.md
├── content
├── data
├── layouts
├── public
├── resources
│   └── _gen
│       ├── assets
│       └── images
├── static
├── themes
│   └── hugo-Papermod
└── config.toml
Now, we can add some content to our site! We can start a new blog post by running the following command:
hugo new posts/first-blog-post.md
You can call the file whatever you would like. This will create a new file in content -> posts called first-blog-post.md. Open the new file and it should look like this:
---
title: "First Blog Post"
date: 2022-07-05T17:14:35-04:00
draft: true
---
This is the called the front matter. This is the metadata that Hugo uses to generate data on our site. Refer to the Hugo’s documentation on front matter to see the custom data that Hugo is aware of that you can use in your site. Here is what my post looks like:
---
title: "First Blog Post"
date: 2022-07-05T17:14:35-04:00
description: 'This is my first blog post!'
categories: ['tutorial']
tags: ['Hugo', 'Netlify']
draft: false
---

Body of the post goes here...
Now, we can start the server to see our post.
hugo serve -D
Go to http://localhost:1313 to see your new site! It should look something like this:

Publish to Github
Before we can deploy our site to Netlify, we need to push it to Github.
If you do not have a Github account, please sign up for one because you will need one for the rest of this tutorial.

Click the + button to create a new repository.
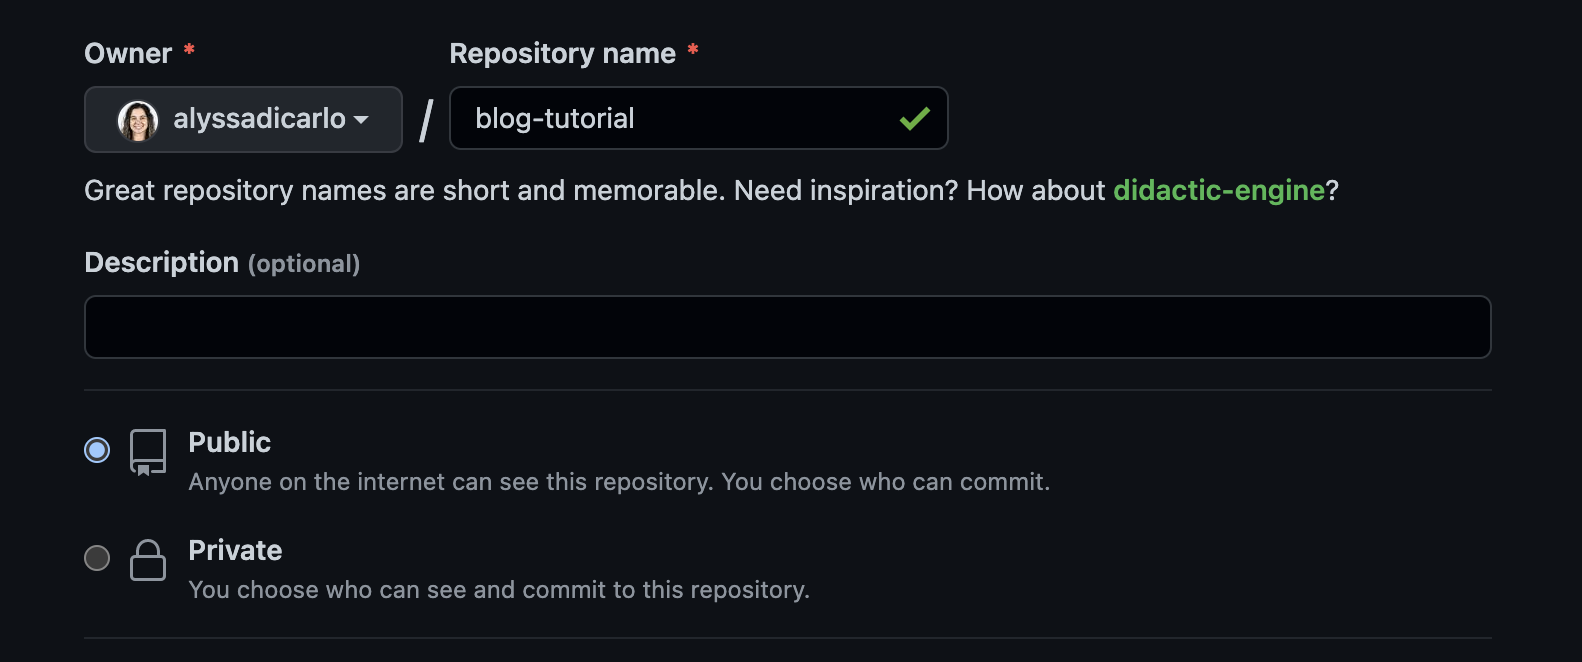
Title this repository whatever you would like and then click *create repository*. You should see a screen that looks something like this:
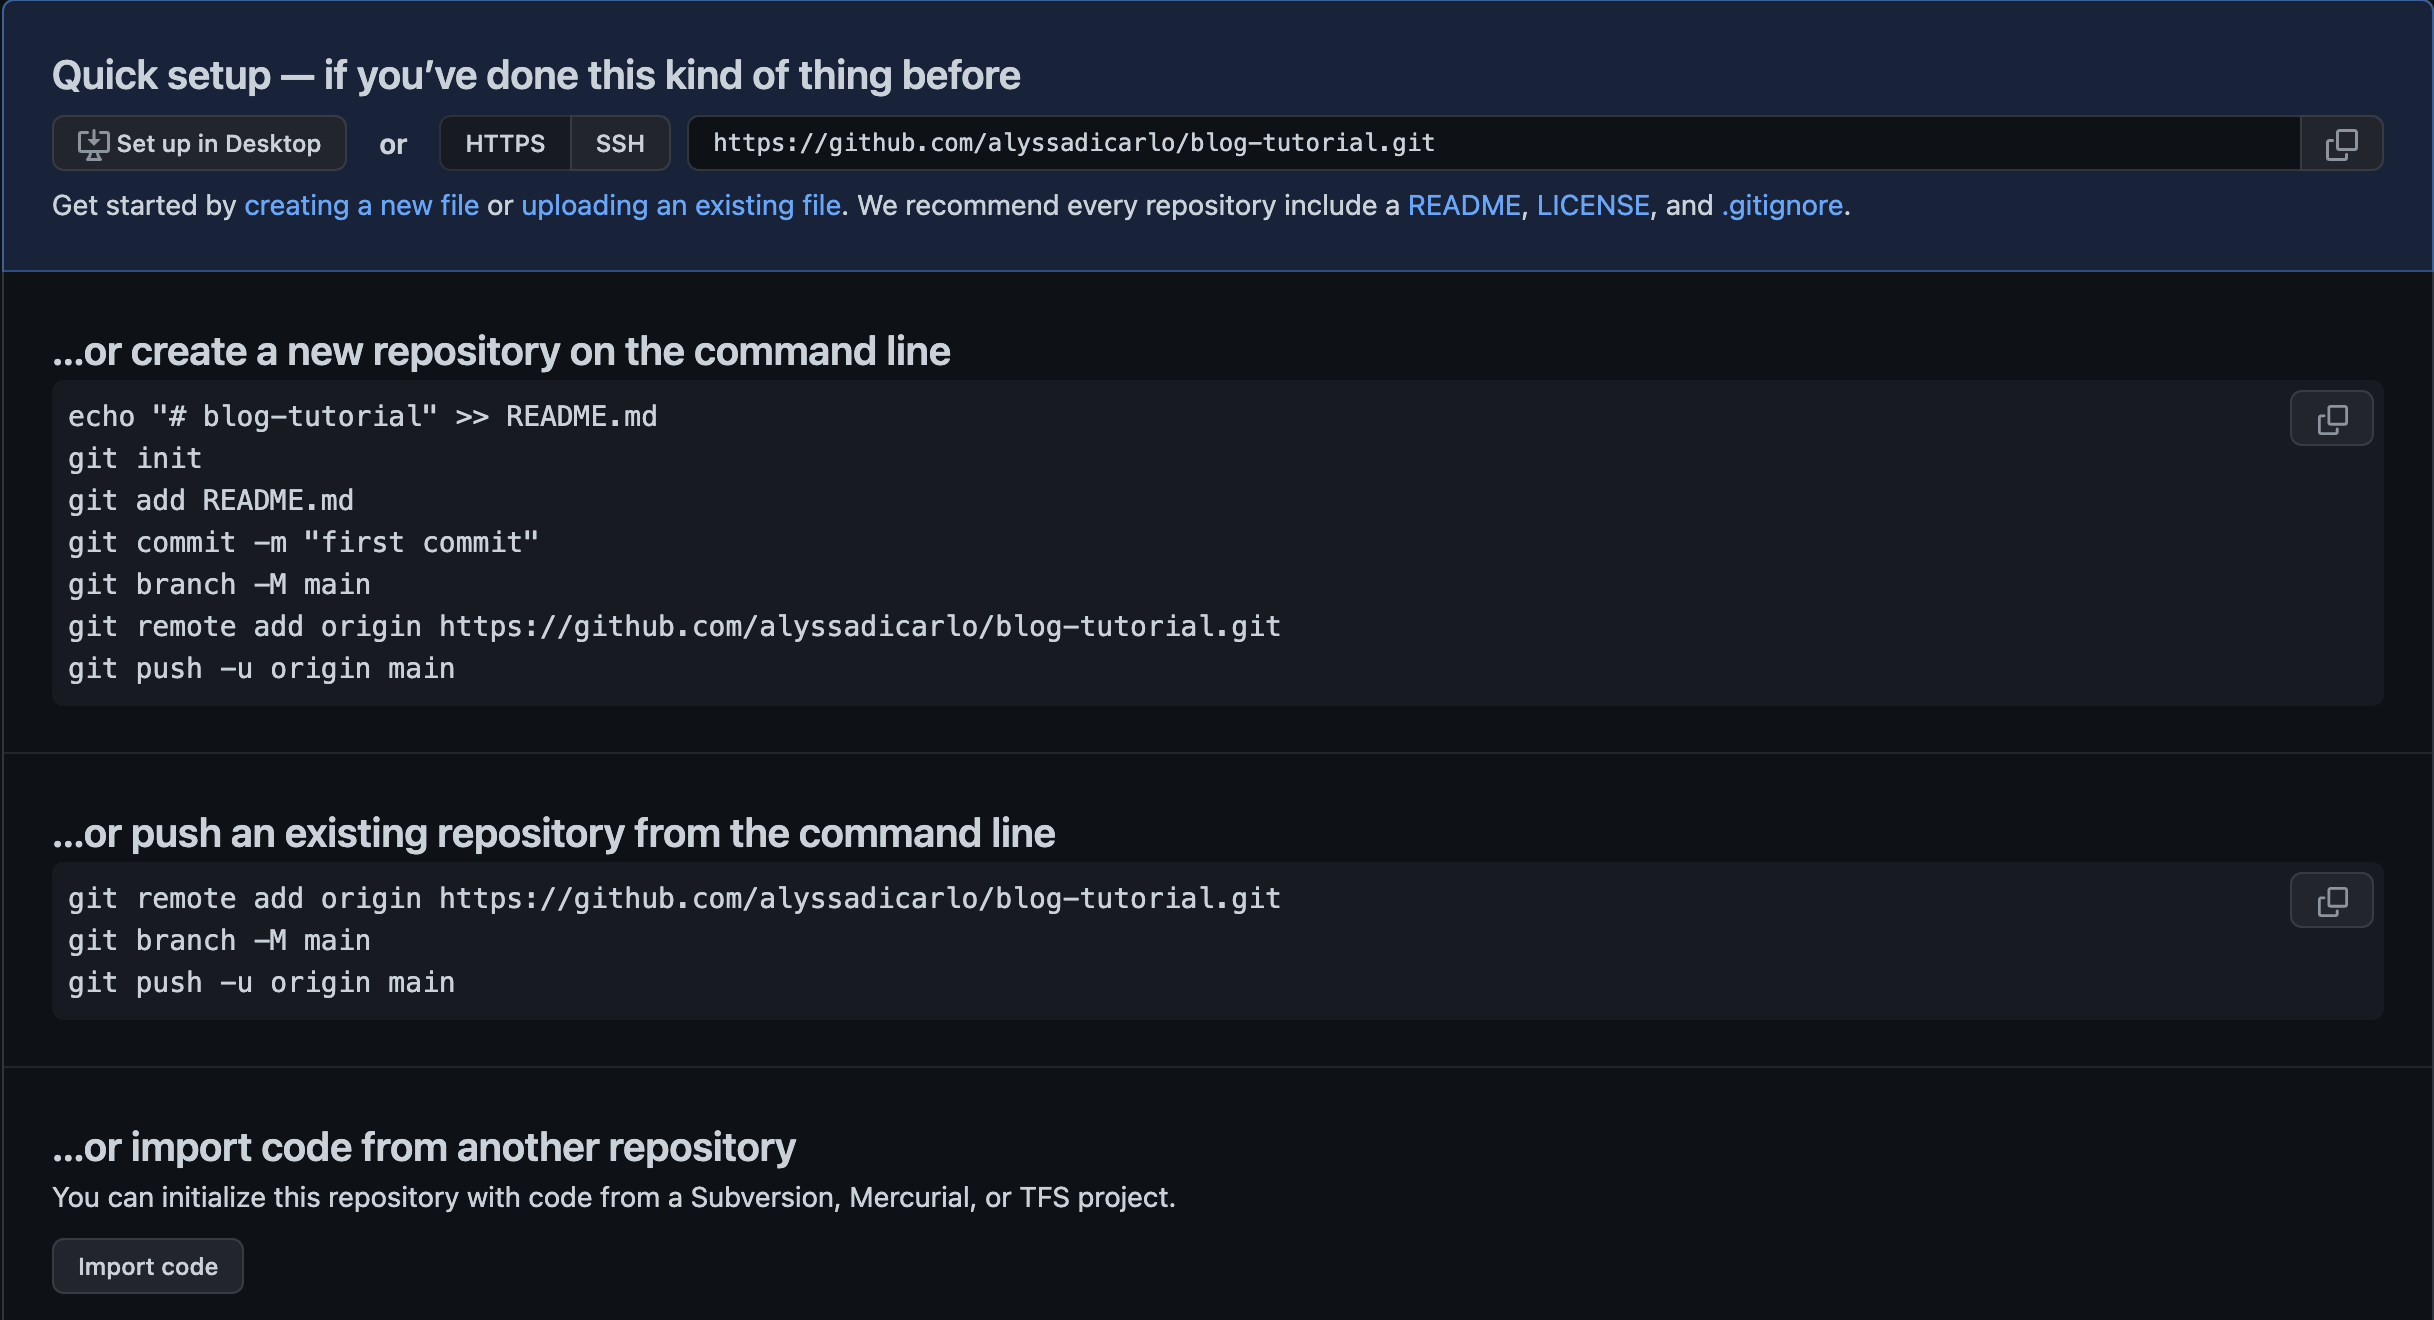
Since we already initialized a git repository in our project directory at the beginning of this tutorial, we can follow the directions for pushing an existing repository and run the following commands:
git remote add origin https://github.com/alyssadicarlo/blog-tutorial.git # add remote branch
git branch -M main # rename current branch to main if it isn't already
git push -u origin main # push code to remote branch on Github
Every time we push to main from here on out, we will just have to run git push since we have already designated the origin above.
Note: if your server is still running in your terminal, ctrl + c to stop running the server to run the commands above.
Deploy to Netlify
Now that we have created our blog and pushed our code to Github, we are ready to deploy our site to Netlify. Netlify is a free service and allows you to deploy static websites very easily.
If you do not have a Netlify account, please make one. I sign in with my Github account to make it easier, but you can register in whichever way you would like to.
Once you sign up, you should see a dashboard that looks like the following.
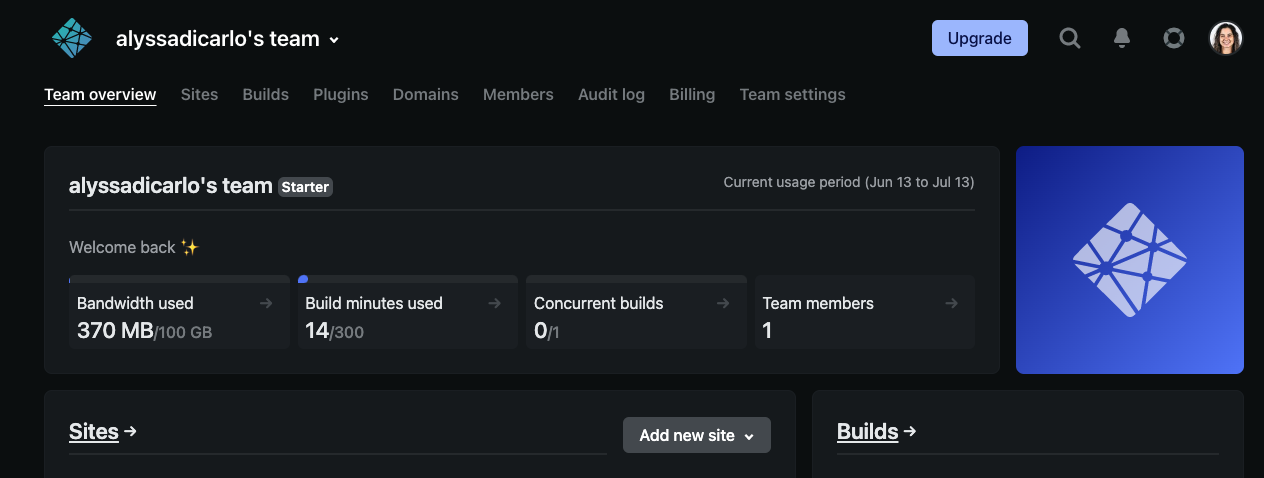
Click “Add new site” and then import from existing project. Then click “Github” to connect your Github account to Netlify. You should be prompted to login where you will give access to all of your repos.
Now, you will need to search for the repository that we created earlier and select that repo to be imported.
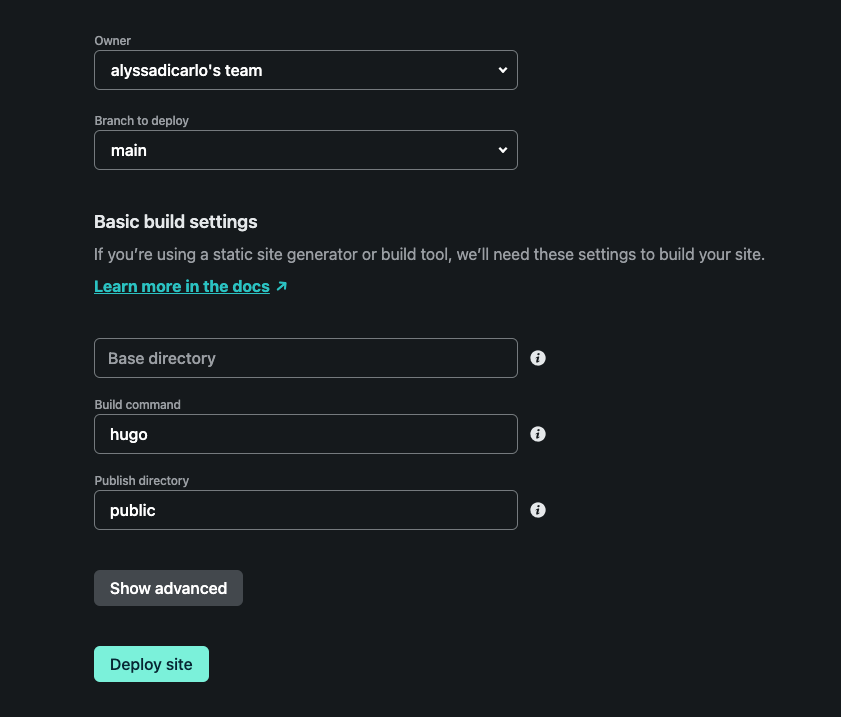
It will automatically populate all of the fields as shown below, and then you will need to click “deploy site”.
Netlify will then take you back to the dashboard where you will be able to visit the link to your site!
Oh no!! Does your site appear to be broken?? There’s just one more thing we need to do!
Open up your config file and change the baseURL variable to be the new url that Netlify just created for you. After you have done this, save your changes, push everything up to Github, and Netlify will automatically deploy your site again making all of your changes public. How awesome is that?!
Wrap up
In this tutorial, we learned how to create a basic blog using the Hugo static site generator, and we learned how to deploy that blog using Netlify.